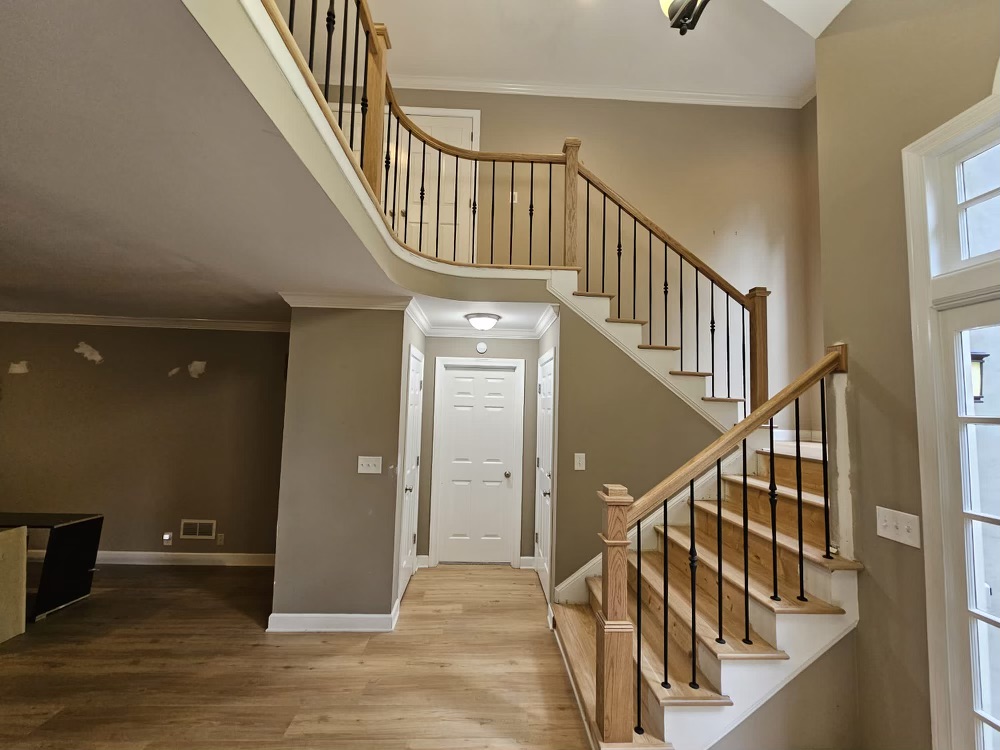
Once you’ve completed the design and selection process, the next step is installation. Whether you’re a DIY enthusiast or a professional, following these steps will ensure a seamless and secure iron baluster installation.
Choosing the Right Balusters
Twenty years ago, all iron balusters were solid material, but due to rising freight costs and the popularity of geometric designs, most iron balusters today are tubular. Tubular balusters are easier for DIY installations because they are easier to cut. Standard iron balusters are 44 inches long and come in various styles and finishes.
Browse our collection of Iron Balusters to find the perfect match for your staircase.
Measuring for Cuts
On average, staircases require four different baluster lengths:
- Balcony
- Volute or Start-Step
- Front (nose), Middle, and Rear of steps
- Angle Wall (if applicable, usually around 29 inches)
To cut your balusters to the right length, use a wood miter saw with a metal-cutting blade (10 inches). These blades are available at local hardware stores or Stair Solution. Tubular iron cuts in seconds, while solid iron requires more time and may need a band saw or commercial grade cutting equipment. If you’re working with stainless steel balusters, be prepared for a longer cutting process.
Removing Existing Wood Spindles
If you are replacing wooden balusters, start with the balcony area for easier handling. Follow these steps:
- Use a jigsaw to cut the existing wood baluster near the hourglass shape at the bottom.
- Hold the top of the baluster while cutting to prevent it from falling.
- The method of removal depends on the builder’s original installation. Some balusters are secured with glue, nails, or staples. Removing a few will help determine the best approach.
After removal, check the bottom hole depth and the width/depth of the handrail hole:
- Bottom hole depth: No deeper than 1/2 inch
- Handrail hole width: 3/4″ – 11/16″
- Handrail hole depth: 1-1/2 inches
Understanding the Iron Baluster Nipple
Most iron balusters have a nipple near the ornament, but this is not the top of the baluster. The nipple is part of the manufacturing process. For balcony installations, always place the nipple downward into the bottom hole. This ensures the ornament is centered between the handrail and bottom tread, requiring only one cut on the longer side of the baluster.
Cutting Iron Balusters
- Measure the distance between the bottom nosing and the underside of the handrail.
- Add 1-1/2 inches to the total length.
- Cut one baluster first and test the fit before cutting the rest.
- If the depth and fit are good, continue cutting all balusters for the balcony area.
- Install each baluster with Base Shoes to secure them in place.
Applying Adhesive for Secure Installation
For a secure fit, use a high-strength epoxy adhesive with a mixing tip:
- Apply epoxy into the top and bottom holes, including the Base Shoe.
- Start gluing the top holes first, then move to the bottom.
- Adjust the base shoe to ensure a flush fit.
- Epoxy dries within 1-3 hours, depending on the type used.
- If epoxy is unavailable, use Loctite’s PL Adhesive as an alternative.
Final Touches
Once the adhesive sets, check the alignment of your balusters. Wipe off any excess glue and secure each base shoe firmly. Now, step back and admire your upgraded staircase!
For all your iron baluster installation needs, explore our full range of stair parts and accessories.


